
Notice
| 일 | 월 | 화 | 수 | 목 | 금 | 토 |
|---|---|---|---|---|---|---|
| 1 | 2 | 3 | 4 | 5 | 6 | |
| 7 | 8 | 9 | 10 | 11 | 12 | 13 |
| 14 | 15 | 16 | 17 | 18 | 19 | 20 |
| 21 | 22 | 23 | 24 | 25 | 26 | 27 |
| 28 | 29 | 30 | 31 |
Tags
- listcomprehension
- ADsP
- 벡준1152
- 데이터분석준전문가
- 프로그래머스 코딩테스트 고득점 Kit
- 백준
- Python
- 자바
- SQL개발자
- SQLD단기합격
- ADsP공부
- 태블로
- SQLD독학
- SQLD노베이스
- mickito
- 천안데이트
- SQLD공부
- 천안방탈출
- ADsP후기
- spting
- sqld
- 데이터분석
- 데이터시각화
- Tableau
- 자율프로젝트
- 방탈출
- 파이썬
- 머신러닝
- 비전공자SQLD독학
- BOJ10951
Archives
- Today
- Total
doistory
가상환경에서 주피터노트북에 텐서플로우 설치하기 본문
https://www.tensorflow.org/install/pip?hl=ko#windows-native
pip로 TensorFlow 설치
이 페이지는 Cloud Translation API를 통해 번역되었습니다. Switch to English pip로 TensorFlow 설치 컬렉션을 사용해 정리하기 내 환경설정을 기준으로 콘텐츠를 저장하고 분류하세요. 이 가이드는 TensorFlow
www.tensorflow.org
아래내용 요약정리
(base)conda create --name tf29 python=3.8
(base)conda activate 가상환경
(가상환경)pip install tensorflow==2.9
(가상환경)conda install ipykernel
(가상환경)python -m ipykernel install --user --name tf29(가상환경명) --display-name tf29(커널출력명)
가상환경명 = 가상환경 이름
커널출력명 = 쥬피터노트북에서 보일 명칭
예시
(base)conda create --name tf29 python=3.8
(base)conda activate tf29
(tf29)pip install tensorflow==2.9
(tf29)conda install ipykernel
(tf29)python -m ipykernel install --user --name tf29 --display-name tf29
가상환경은 삭제하기 전까지 사라지지 않음.
가상환경 삭제 명령은
jupyter kernelspec uninstall (가상환경명)
재부팅 후 다시 가상환경을 사용 할 때는 아래 두 줄만 필요함
(base)conda activate tf29
(tf29)jupyter notebook
1. 아나콘다 프롬프트 창에서 가상환경만들기
#3.8 버전으로 맞추기

conda create -n 이름 python=3.8
2. 가상환경 들어가기
conda activate 이름3. 가상환경으로 들어와서 버전 확인
python -V4. 텐서플로우 설치하기
pip install tensorflow==2.9
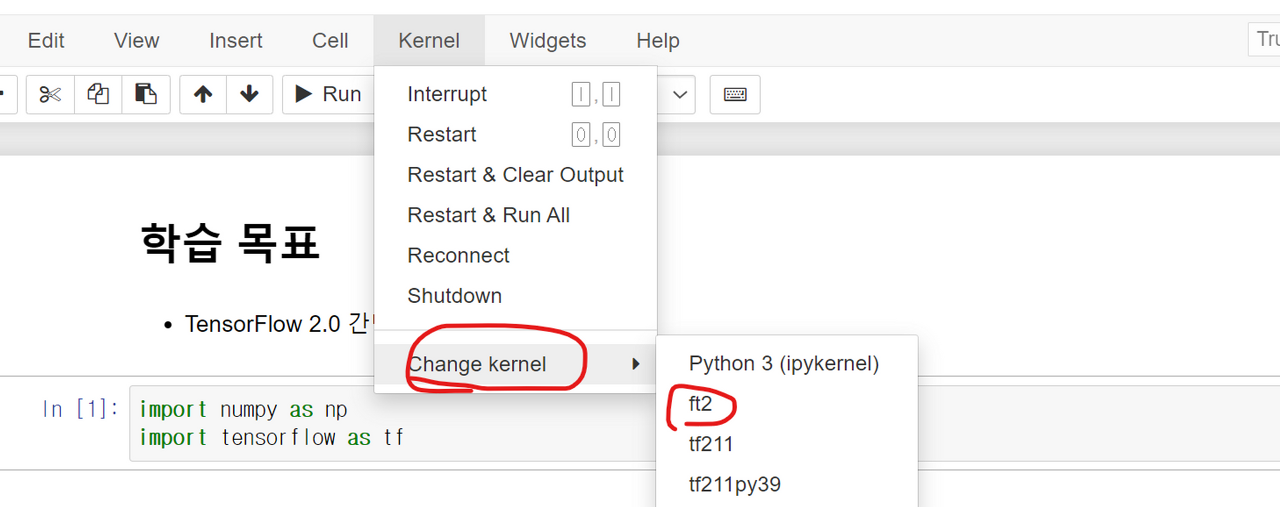
5. anaconda로 설치한 가상 환경 jupyter notebook kernel에 추가
conda install -c anaconda ipykernel6. 주피터 노트북에 가상환경 커널 추가

python -m ipykernel install --user --name 가상환경이름 --display-name 가상환경이름7. 결과 확인해보기
내 가상환경을 주피터 노트북 커널에 연결(상세내용:https://github.com/Anaconda-Platform/nb_conda_kernels)
conda install nb_conda_kernels'[ Data ] > 데이터분석, 머신러닝, 딥러닝' 카테고리의 다른 글
| [비전공자의 ADsP 취득기] #2 데이터분석 준전문가 독학 고득점 합격 후기: 민트책 외 ADsP 교재 비교 (0) | 2023.10.13 |
|---|---|
| [비전공자의 ADsP 취득기] #1 데이터분석 준전문가 독학 고득점 합격 후기/SQLD 차이 비교 (4) | 2023.10.13 |
| SVM, 의사결정 트리학습 (0) | 2023.07.07 |
'[ Data ]/데이터분석, 머신러닝, 딥러닝' Related Articles
more


